Creative DIY Christmas Felt Treat Bags Ideas for Holiday Gifts and Festive Celebrations
Crafting Christmas Felt Treat Bags A Holiday Delight
As the holiday season approaches, the hustle and bustle of preparations begins. From decorating the Christmas tree to baking festive treats, there’s a unique charm in creating personalized gifts that capture the spirit of giving. One delightful project that transcends age and skill level is making Christmas felt treat bags. These charming little bags are not only perfect for holding candies and small gifts but also add a creative touch to your holiday décor.
Why Choose Felt?
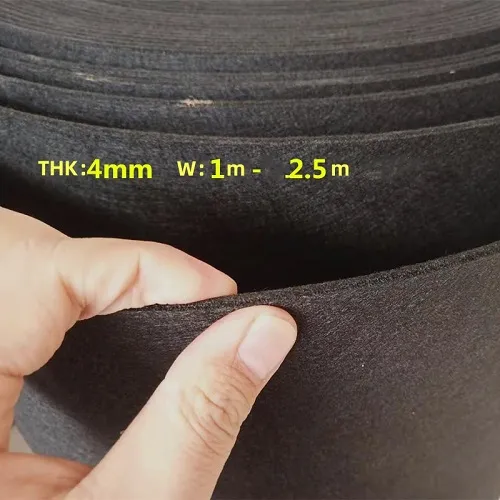
Felt is an excellent material for crafting due to its accessibility and versatility. It’s soft, comes in vibrant colors, and can be easily cut and glued, making it ideal for holiday crafts. Unlike traditional fabric, felt won’t fray, which adds to its ease of use for beginners and children alike. With a plethora of colors available, felt allows for creative expression, enabling crafters to create bags that are both fun and festive.
Getting Started
Before diving into your Christmas felt treat bags, gather your materials. You will need felt sheets in various colors (such as red, green, white, and gold), scissors, a glue gun or needle and thread, embellishments (like sequins or buttons), and any treats or small toys you plan to include.
Step-by-Step Instructions
1. Design Your Bag First, plan the size and shape of your felt treat bag. A simple rectangular design usually works well. Cut two identical pieces of felt for the front and back of your bag. For a festive shape, consider cutting the felt into a stocking or a Christmas tree outline.
christmas felt treat bags
2. Cut Out Decorations Using different colored felt, create fun decorations. For example, cut out shapes like stars, snowflakes, or holly leaves to embellish your bags. Let your imagination run wild—there are no rules when it comes to Christmas decor!
3. Assemble the Bag Lay the two identical felt pieces on top of each other, aligning the edges. If you’re using a glue gun, carefully apply glue along the edges and press them together. Alternatively, you can sew the sides for a more durable finish. Make sure to leave the top open for filling.
4. Add Decorations Now, it’s time to add your cut-out decorations to the front of the bag. Using glue or stitches, attach these shapes creatively, ensuring you secure them well so they can withstand the joy of being pulled at by eager little hands.
5. Fill with Treats Once your bags are assembled and decorated, it’s time for the most exciting part—filling them with goodies! Whether it's homemade cookies, candies, or small toys, the choice of treats can be customized for each recipient.
6. Finishing Touches To add extra flair, consider adding strings or ribbons. Attach a loop to the top of the bag for easy carrying or hanging on a tree. Personalize each bag with a name tag, adding a unique touch that kids and adults alike will appreciate.
The Joy of Giving
Christmas felt treat bags make for great gifts, and they offer an opportunity to teach younger generations the joy of crafting and giving. These bags can be used for parties, classroom treats, or family gatherings, embodying the spirit of the season. Crafting them can also be a delightful family activity, bringing everyone together to celebrate the holiday.
In conclusion, Christmas felt treat bags are a perfect way to spread joy during the holiday season. They are simple, customizable, and a fun way to get everyone involved in the spirit of crafting. As you gather around the crafting table, remember that the warmth of the season is all about creating moments and memories. Happy crafting!
-
What Makes Felt a Great Choice?NewsNov.19,2024
-
Total Mixed Ration (TMR) Feed for CattleNewsNov.19,2024
-
The Ultimate Guide for Felt Polishing WheelsNewsNov.19,2024
-
Industrial Felt for Various ApplicationsNewsNov.19,2024
-
Felt Makeup Bags and Inserts BagsNewsNov.19,2024
-
Choosing the Right Hotel TowelsNewsNov.19,2024
-
Your Go-To Guide For Affordable Wholesale Wool FeltsNewsOct.31,2024


